Controls engineering academy
How to Create a Project in Studio 5000 Logix Designer
A step-by-step guide to creating a new project in Studio 5000 Logix Designer, including selecting a controller and a software revision.
A step-by-step guide to creating a new project in Studio 5000 Logix Designer, including selecting a controller and a software revision.
Learn PLC programming by building projects in your browser - no hardware or software required.
Sign up for your 30 day free trial today.
In my last post, I walked you through Rockwell Automation's controller families, from the Micro800 up through CompactLogix and ControlLogix.
In this post, I'll show you how to create a new project in Studio 5000 Logix Designer for a Logix 5000 controller.
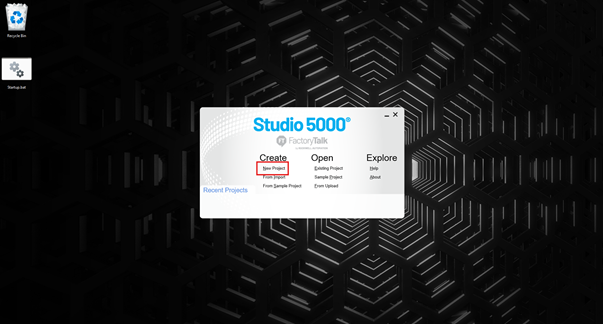
To create a new project, you launch Studio 5000 Logix Designer and click New Project on the splash screen.
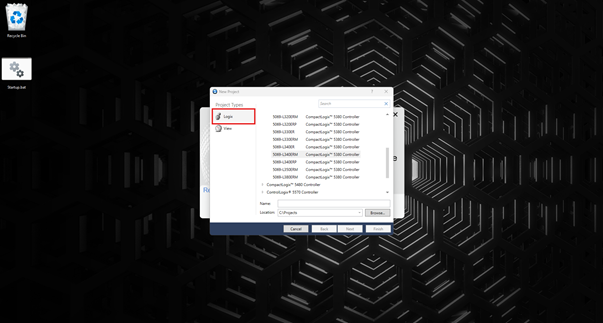
Studio 5000 is a modular engineering environment that can be used to create different types of projects. To program a Logix 5000 PLC, you need to create a Logix project. In the Project Types pane, select Logix.
A Studio 5000 Logix Designer project is "controller-centric." This means that each project contains the configuration data and application code for exactly one Logix 5000 PLC.
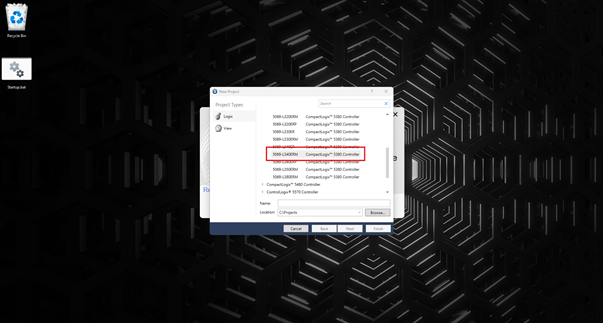
When you create a project, you have to select the type of PLC that will be added to the project. In this example, I select a 5069-L340ERM, a CompactLogix controller. The actual controller that you select will depend on the project that you're working on.
Finally, give the project a name and specify where it will be stored.
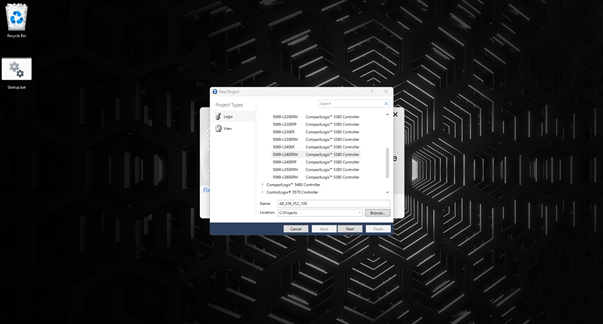
Once the project details have been specified, click Next to continue creating the project.
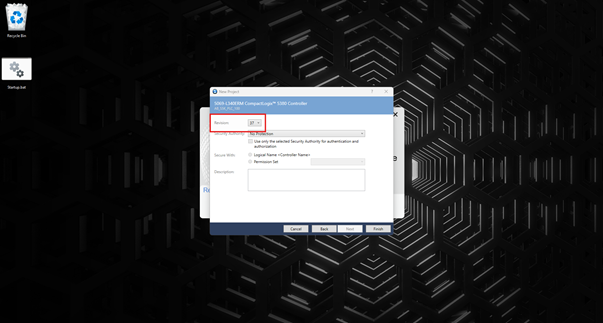
On the next screen, you have to specify the revision of Logix Designer to be used when creating the project. You can have multiple revisions installed on your computer, and the options available in this dropdown will depend on what revisions are installed.
When you download a project to a PLC, the firmware revision in the PLC must match the revision of Logix Designer that was used to create the project.
In this example, I create the project using Logix Designer revision 37. If you're using your own copy of Studio 5000, just pick whatever revision you have installed.
The remaining options are related to security, which is a very important topic but is outside the scope of this beginner-friendly post. Leave these options at their default values and click Finish to create the project.
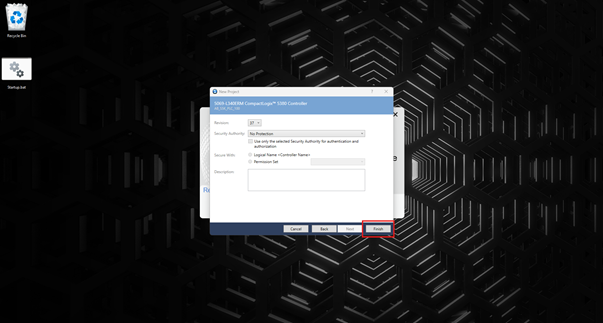
The project is created and opened automatically.
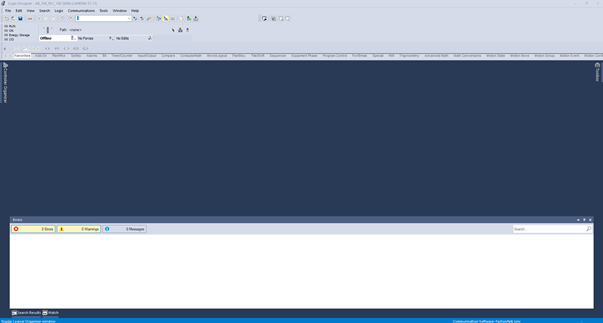
In this post, you saw how to create a Studio 5000 Logix Designer project: selecting the project type, choosing a controller, naming the project, and picking a Logix Designer revision.
After creating a project, the next step is to declare tags. Check out my post on Tag Concepts to learn more about tags in Studio 5000 Logix Designer.
Learn PLC programming by building projects in your browser. No hardware or software required.
For a limited time only, get access to all of our courses for free for 30 days, then $29.97 per month.